Connect Register
Connect your register device to begin processing transactions. This guide walks you through the registration and connection process in 4 simple steps.
Overview
Before you can process sales, your POS register must be connected to the system at your Corporate location. This one-time setup ensures your device is linked and ready to process transactions.
Prerequisites
Before starting the connection process, ensure you have:
✓ Store and register information ready for registration ✓ Administrator access or Register Connection Key from your Corporate location ✓ Network connectivity on your register device
Connection Process
Step 1: Begin Setup
Navigate to the Connect Your POS Register page and select Begin setup.
Step 2: Register Requirements
Review the checklist to ensure you have all necessary information:
- Store and register information ready
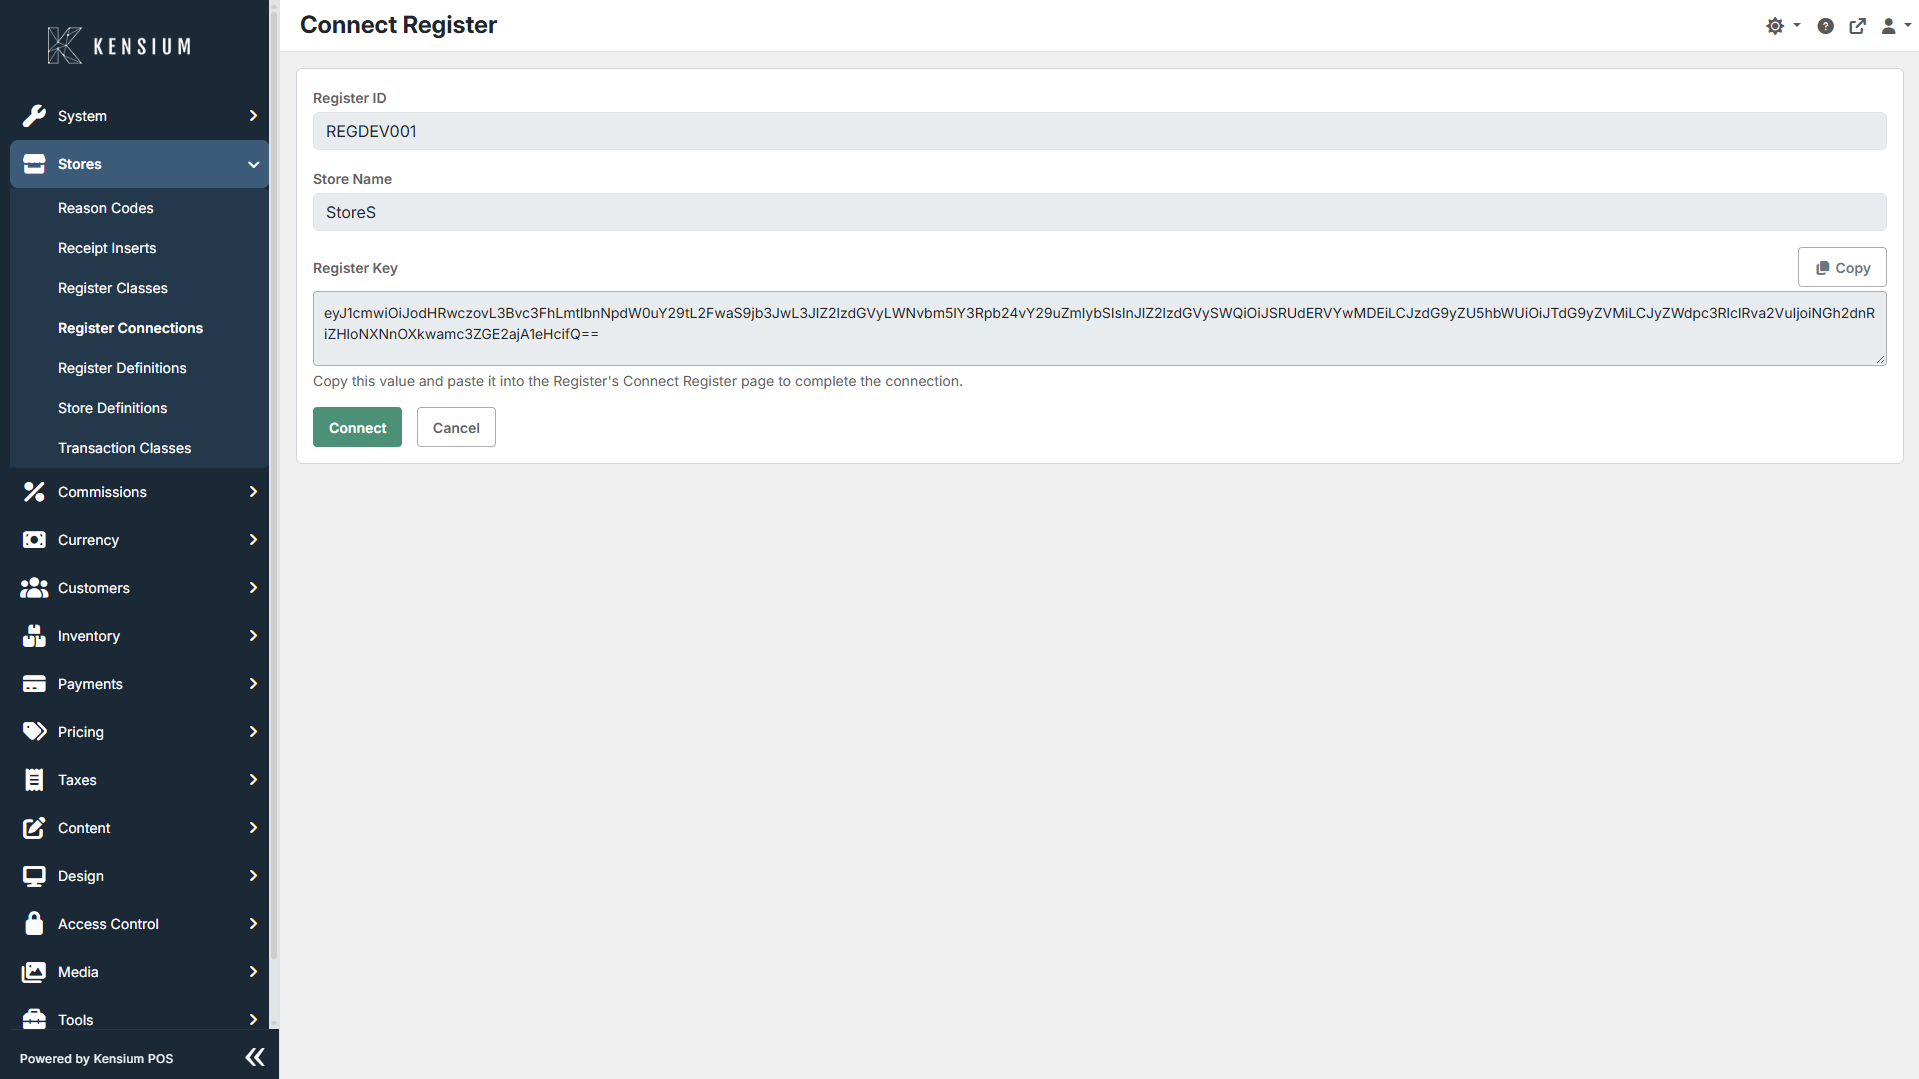
- Register Connection Key from your Corporate location (found under Stores > Register Connections in POS Administration)
Step 3: Enter Registration Details
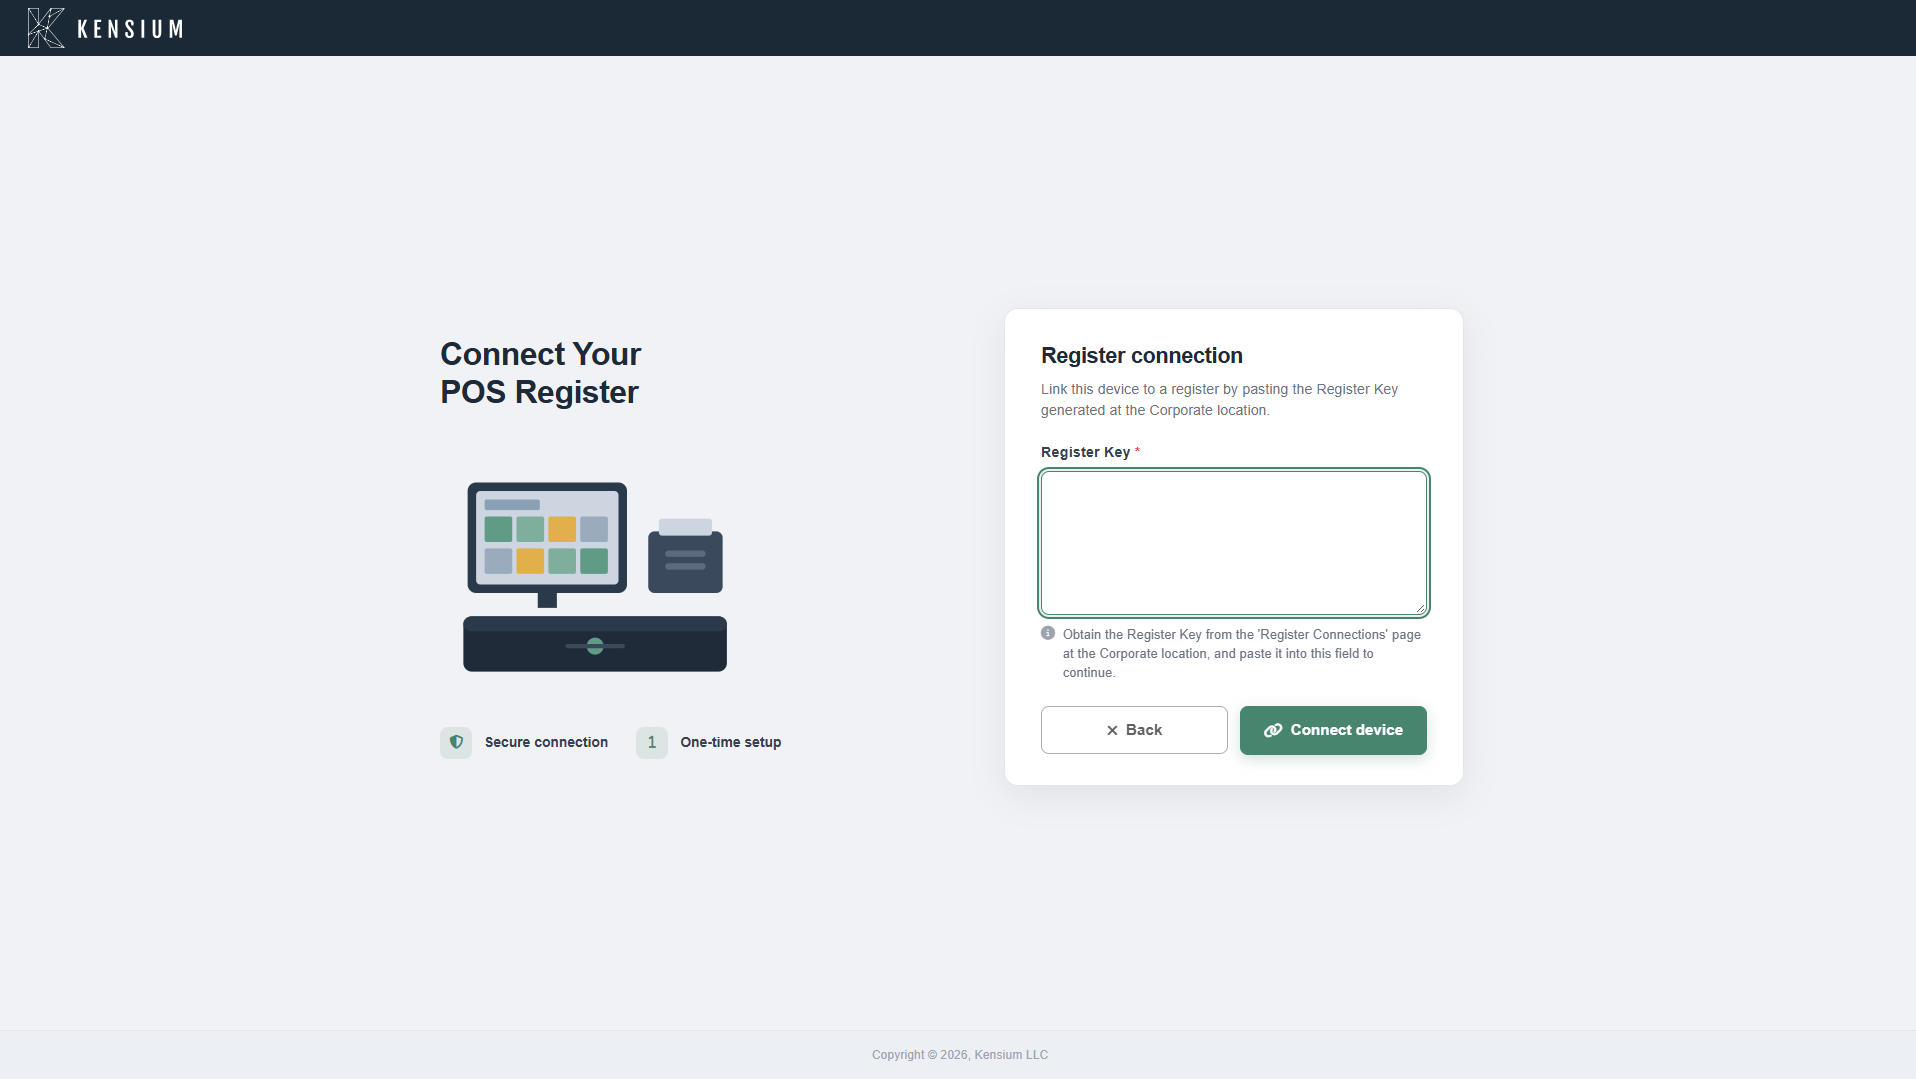
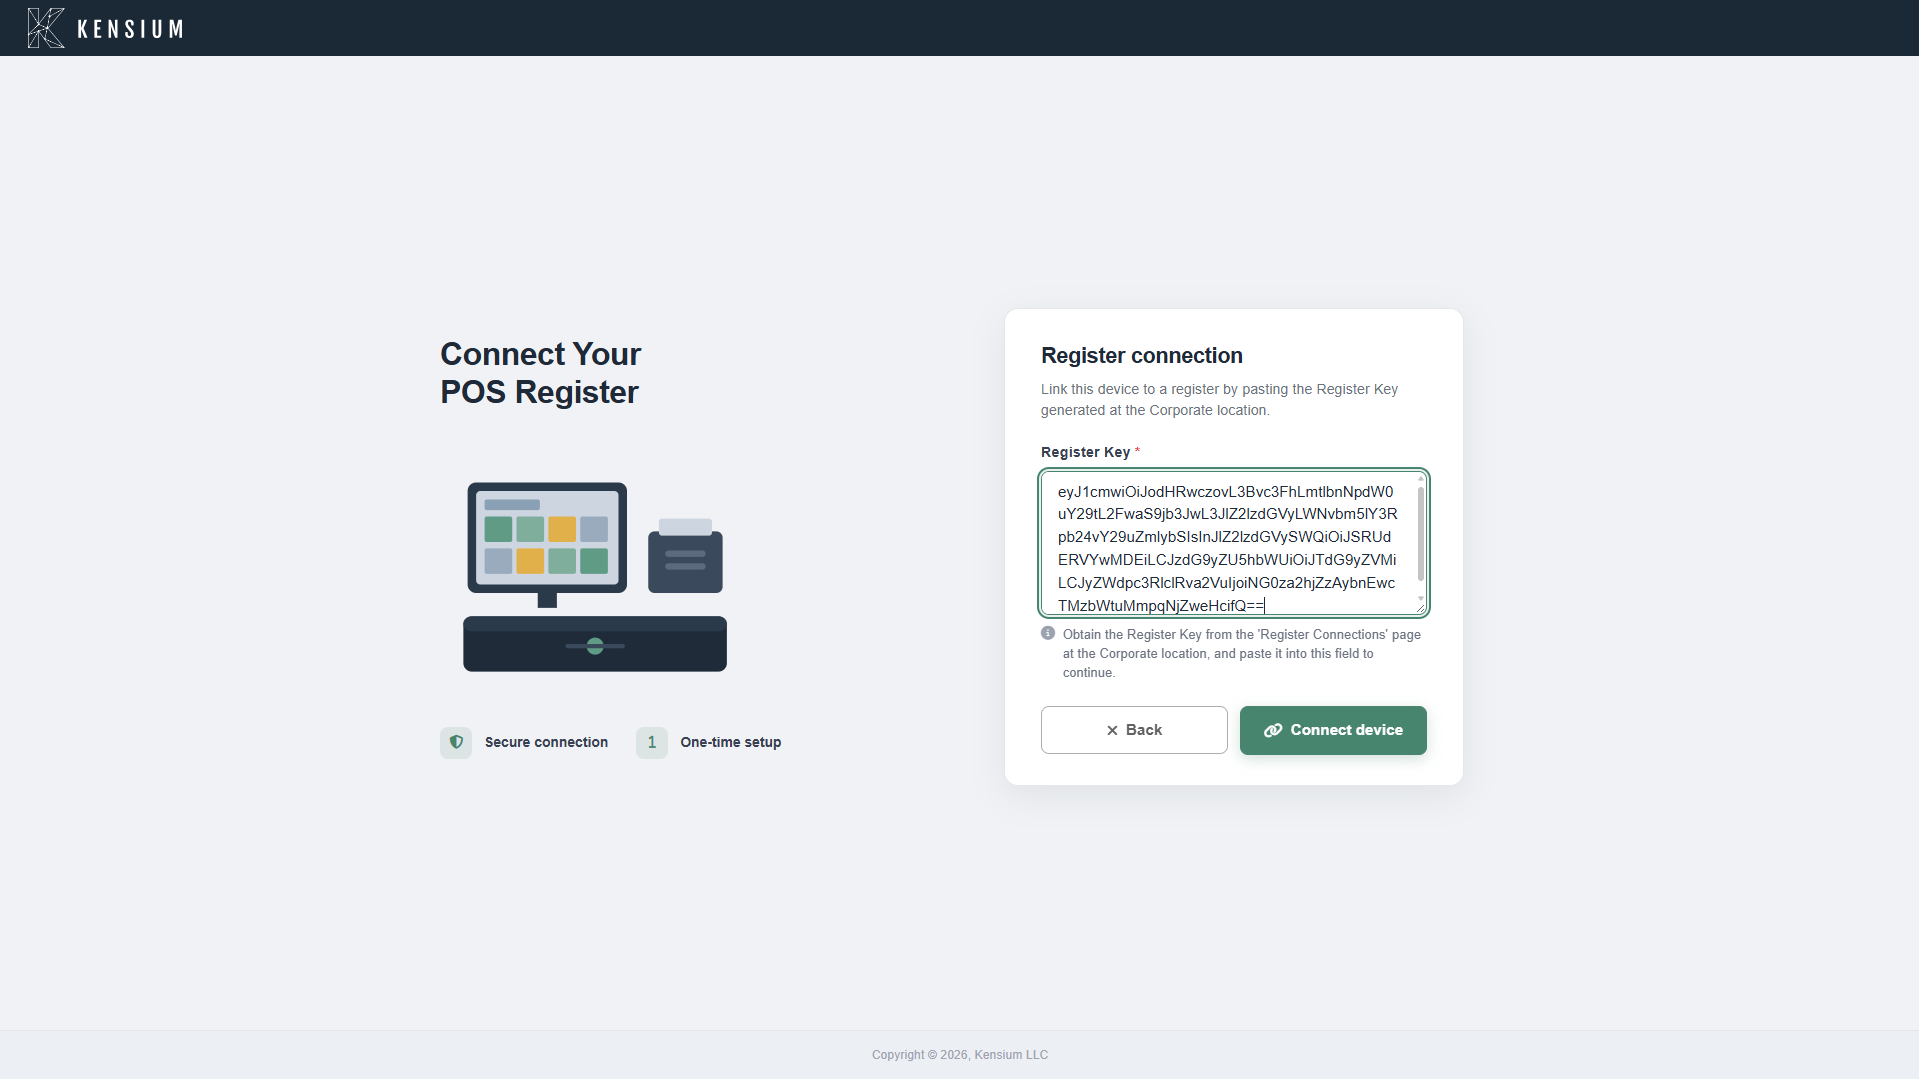
Obtain the Register Connection Key from your Corporate location and paste it into the registration field:
- Go to POS Administration → Stores → Register Connections
- Copy the Register Connection Key generated for your register
- Paste the key into the Register connection dialog
- Select Connect device to proceed
Step 4: Confirm Connection Success
Once the connection is established, you'll see the confirmation screen showing:
- "Register connected successfully!" message
- Connected Register ID
- Store Name
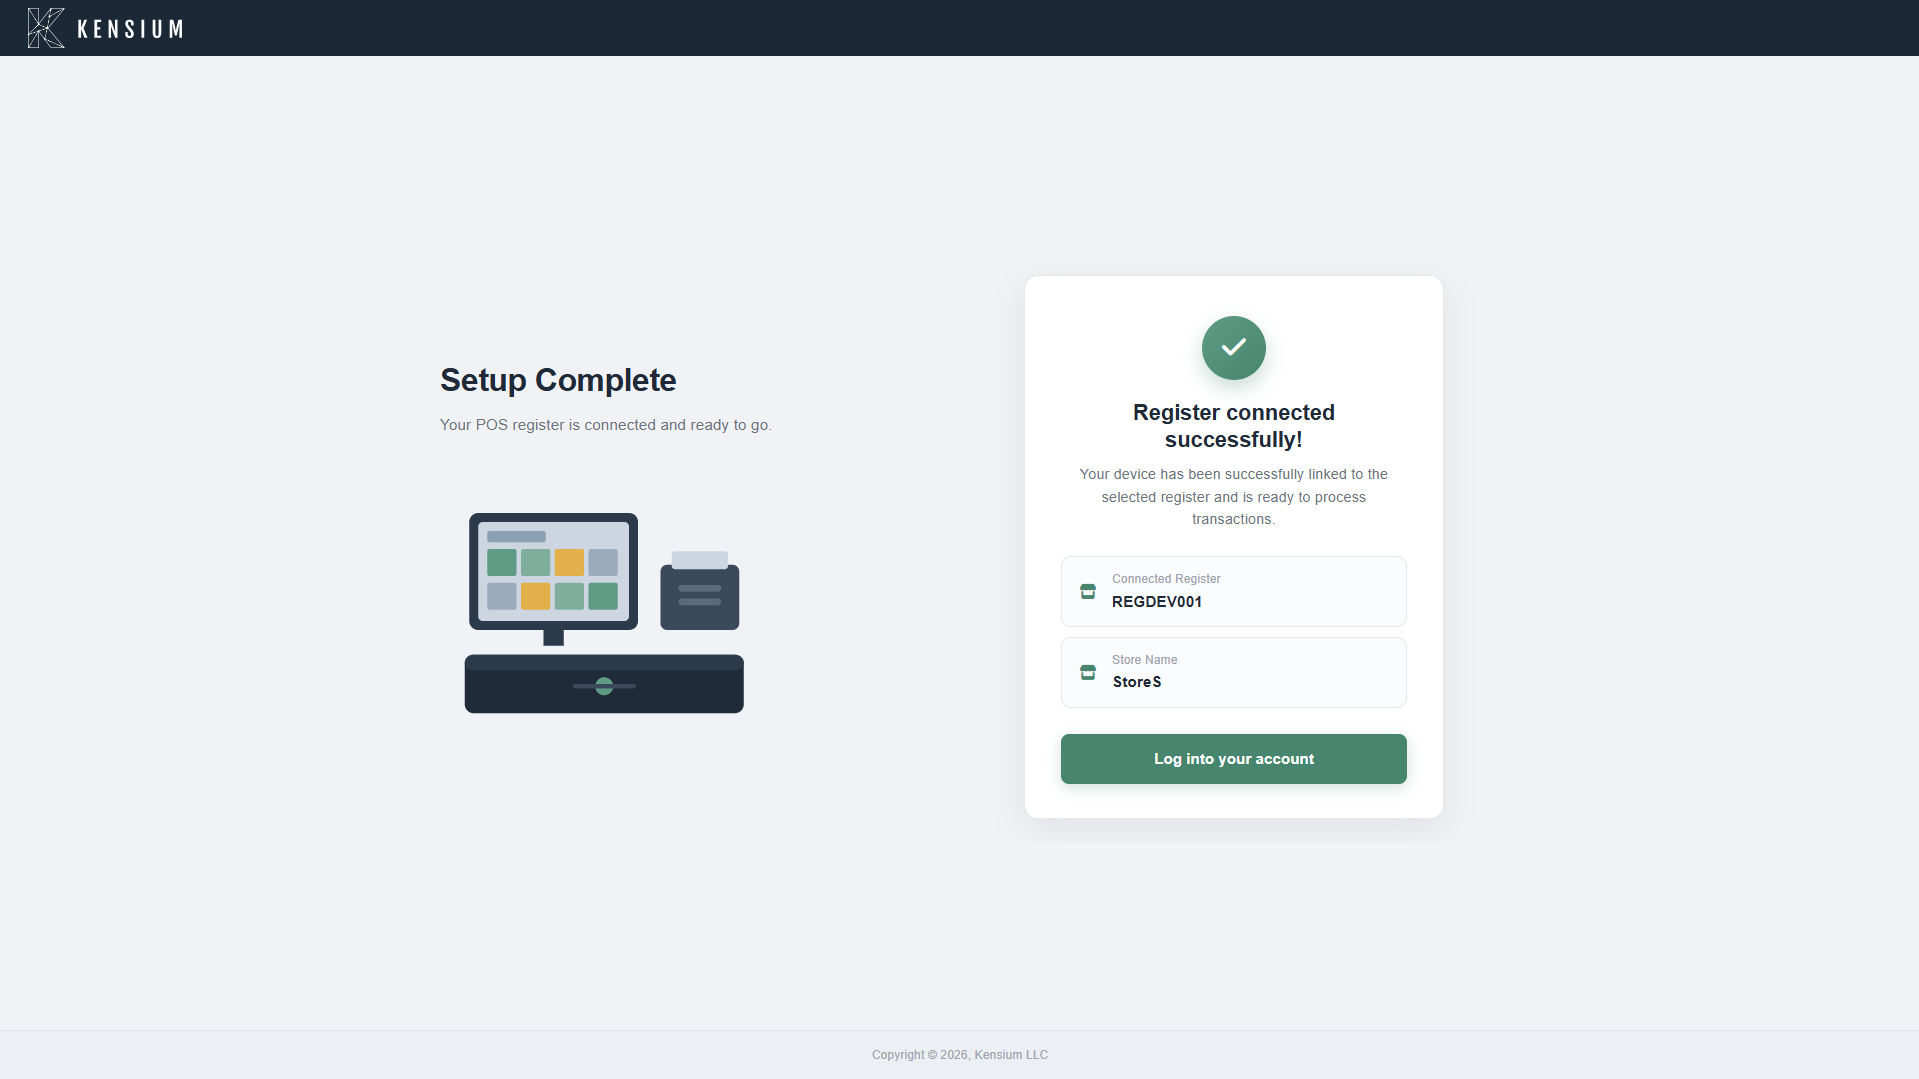
Select Log into your account to proceed to authentication.
End Notes
Connection Complete? Your register is now connected and ready to use. Each device only needs to complete this setup once.
Next Steps: Proceed to Login to authenticate and begin processing sales.